

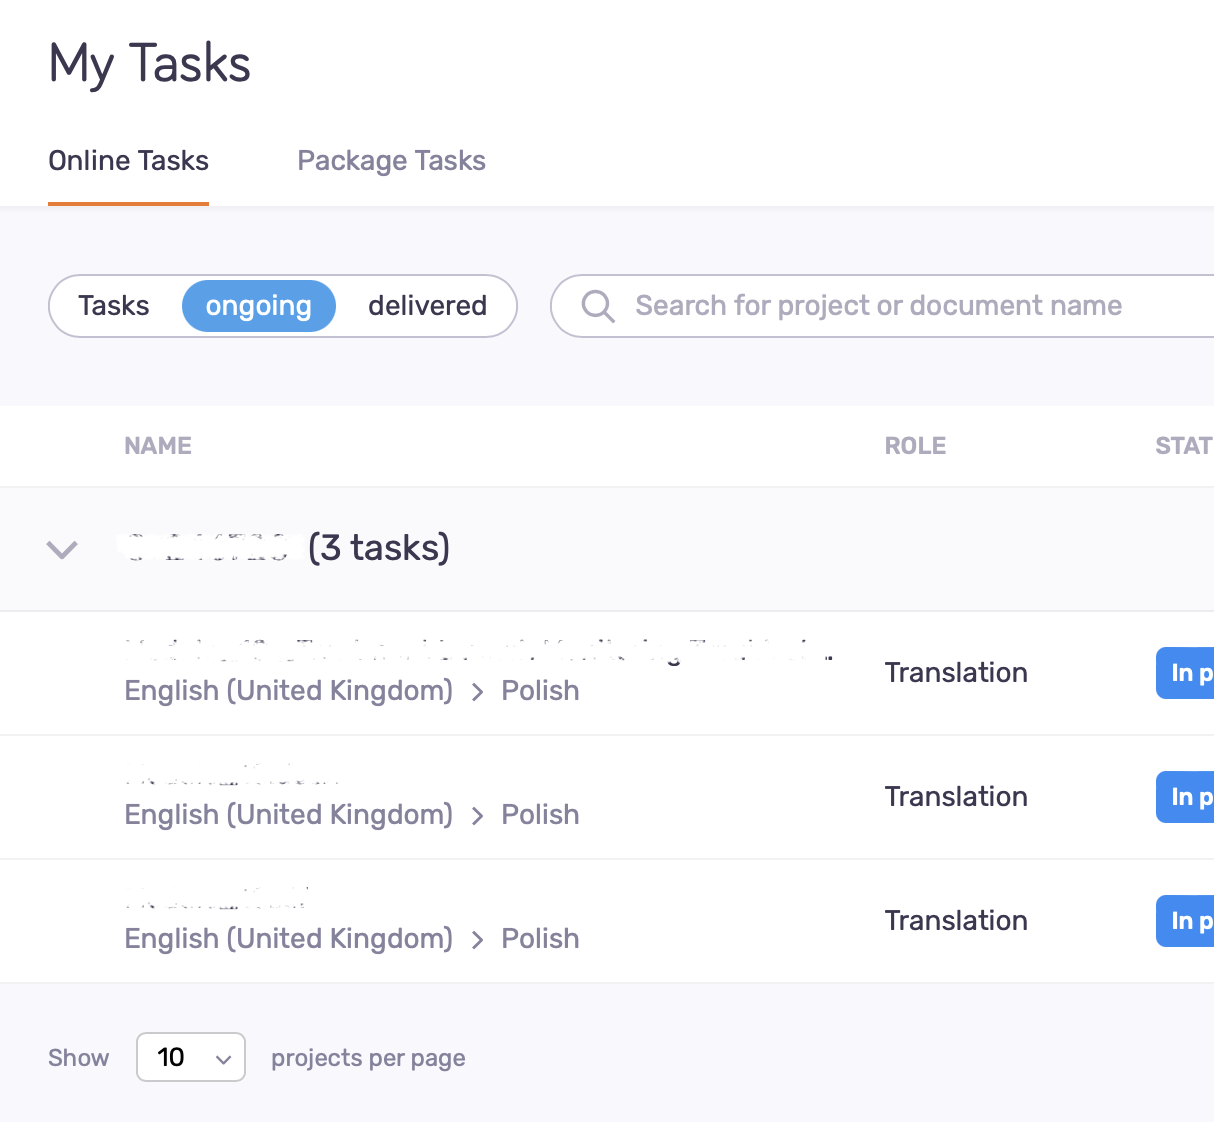
Working on-line using memoQweb and WebTrans
Access to the online editor
The online editor can be accessed from the server (https://mmq.mediglobal.eu), WebTrans tab:
or using the links in the new assignment notification email:
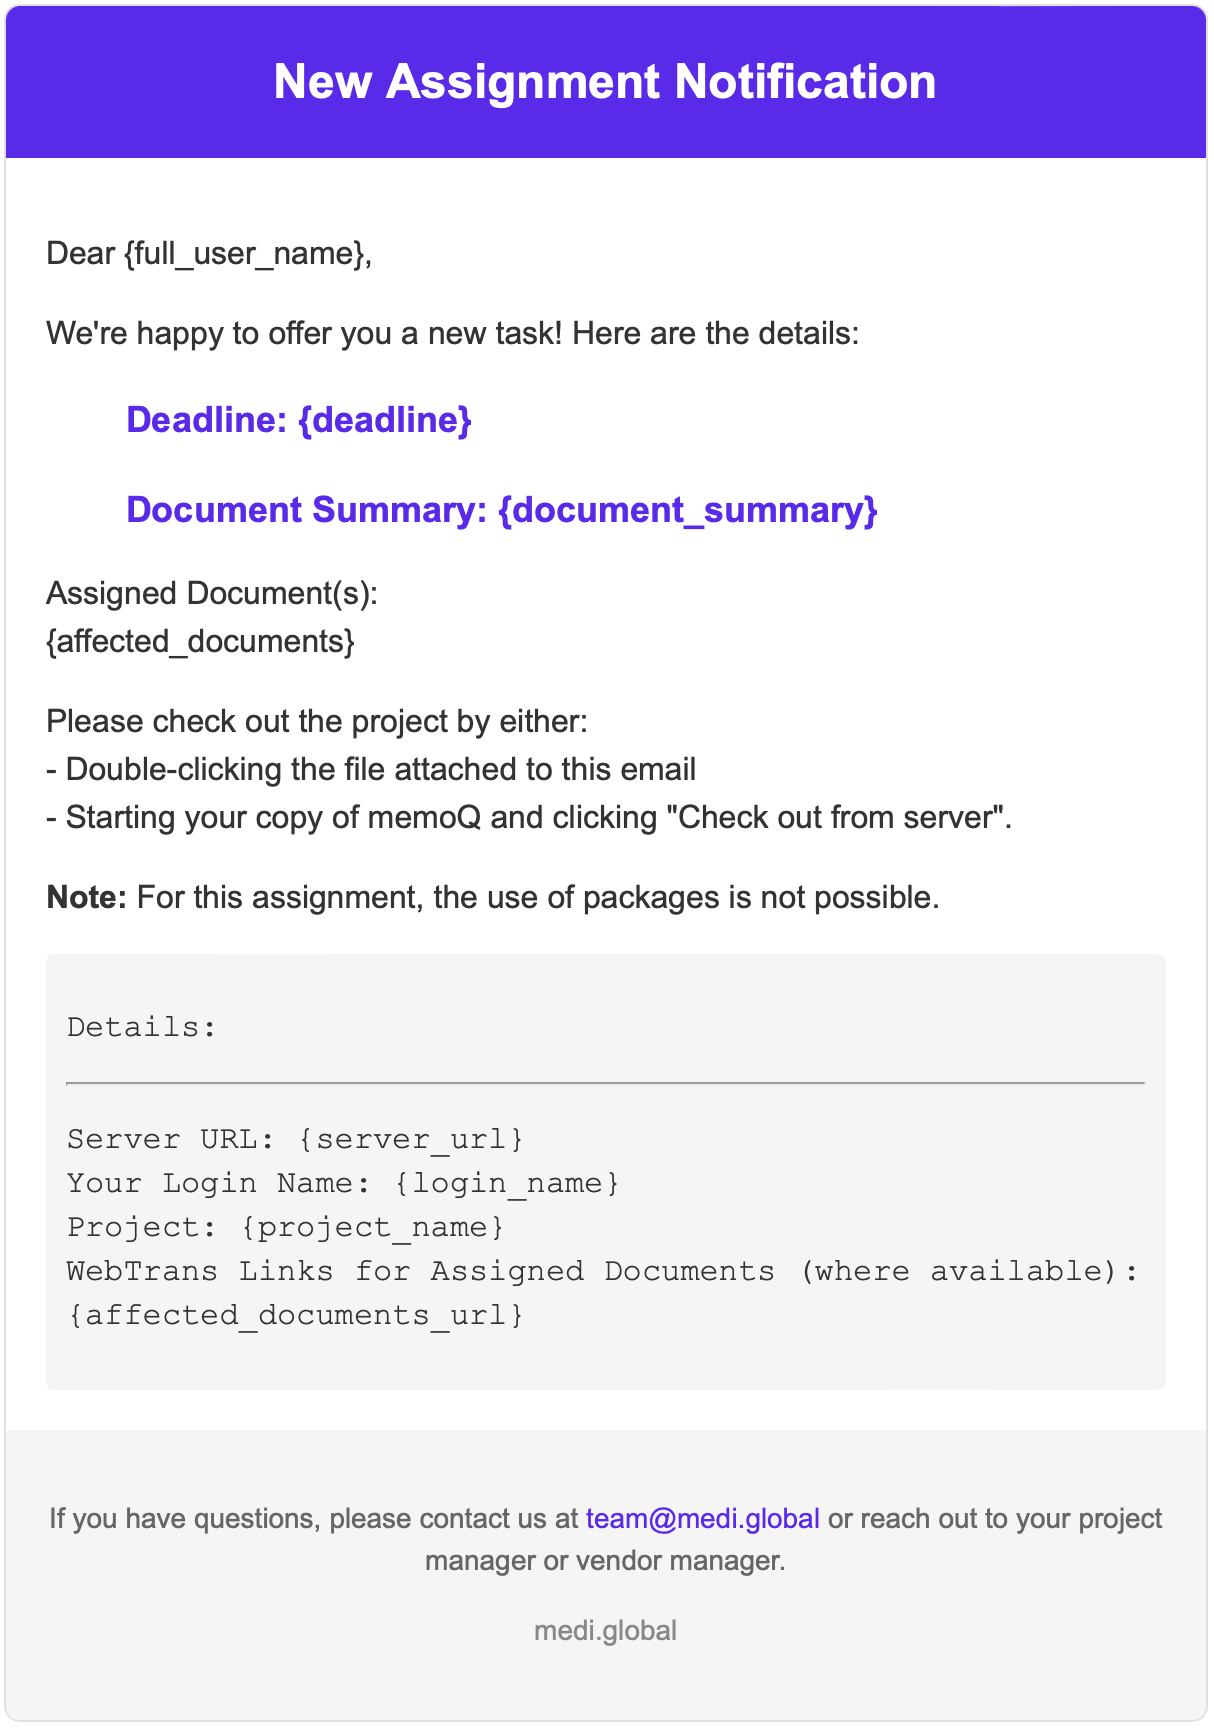
Click on a file name or link to access it in the translation editor.
Availability of the online editor
The number of vendors using the online editor at the same time is limited and, as a rule, priority of access is given to linguists working on projects with shorter deadlines or having special user privileges.
Therefore, we recommend that you work efficiently in the online editor. If it becomes unavailable, you should wait a while and try again, because by that time a user with higher privileges may have already finished their work. Also, in the case of spontaneous logout from the online editor (confirmed segments are not lost), you should wait a while and try to access the editor again.
In order to eliminate these potential inconveniences, we recommend obtaining your own memoQ Translator Pro license and working on server projects after their check-out.
Working in the online editor
The detailed functions of the online editor and the functions of its various elements are discussed in this article.
After opening the editor, the source text will appear in the left-hand column, while the target text will be in the adjacent column. Always input translations into the second column.
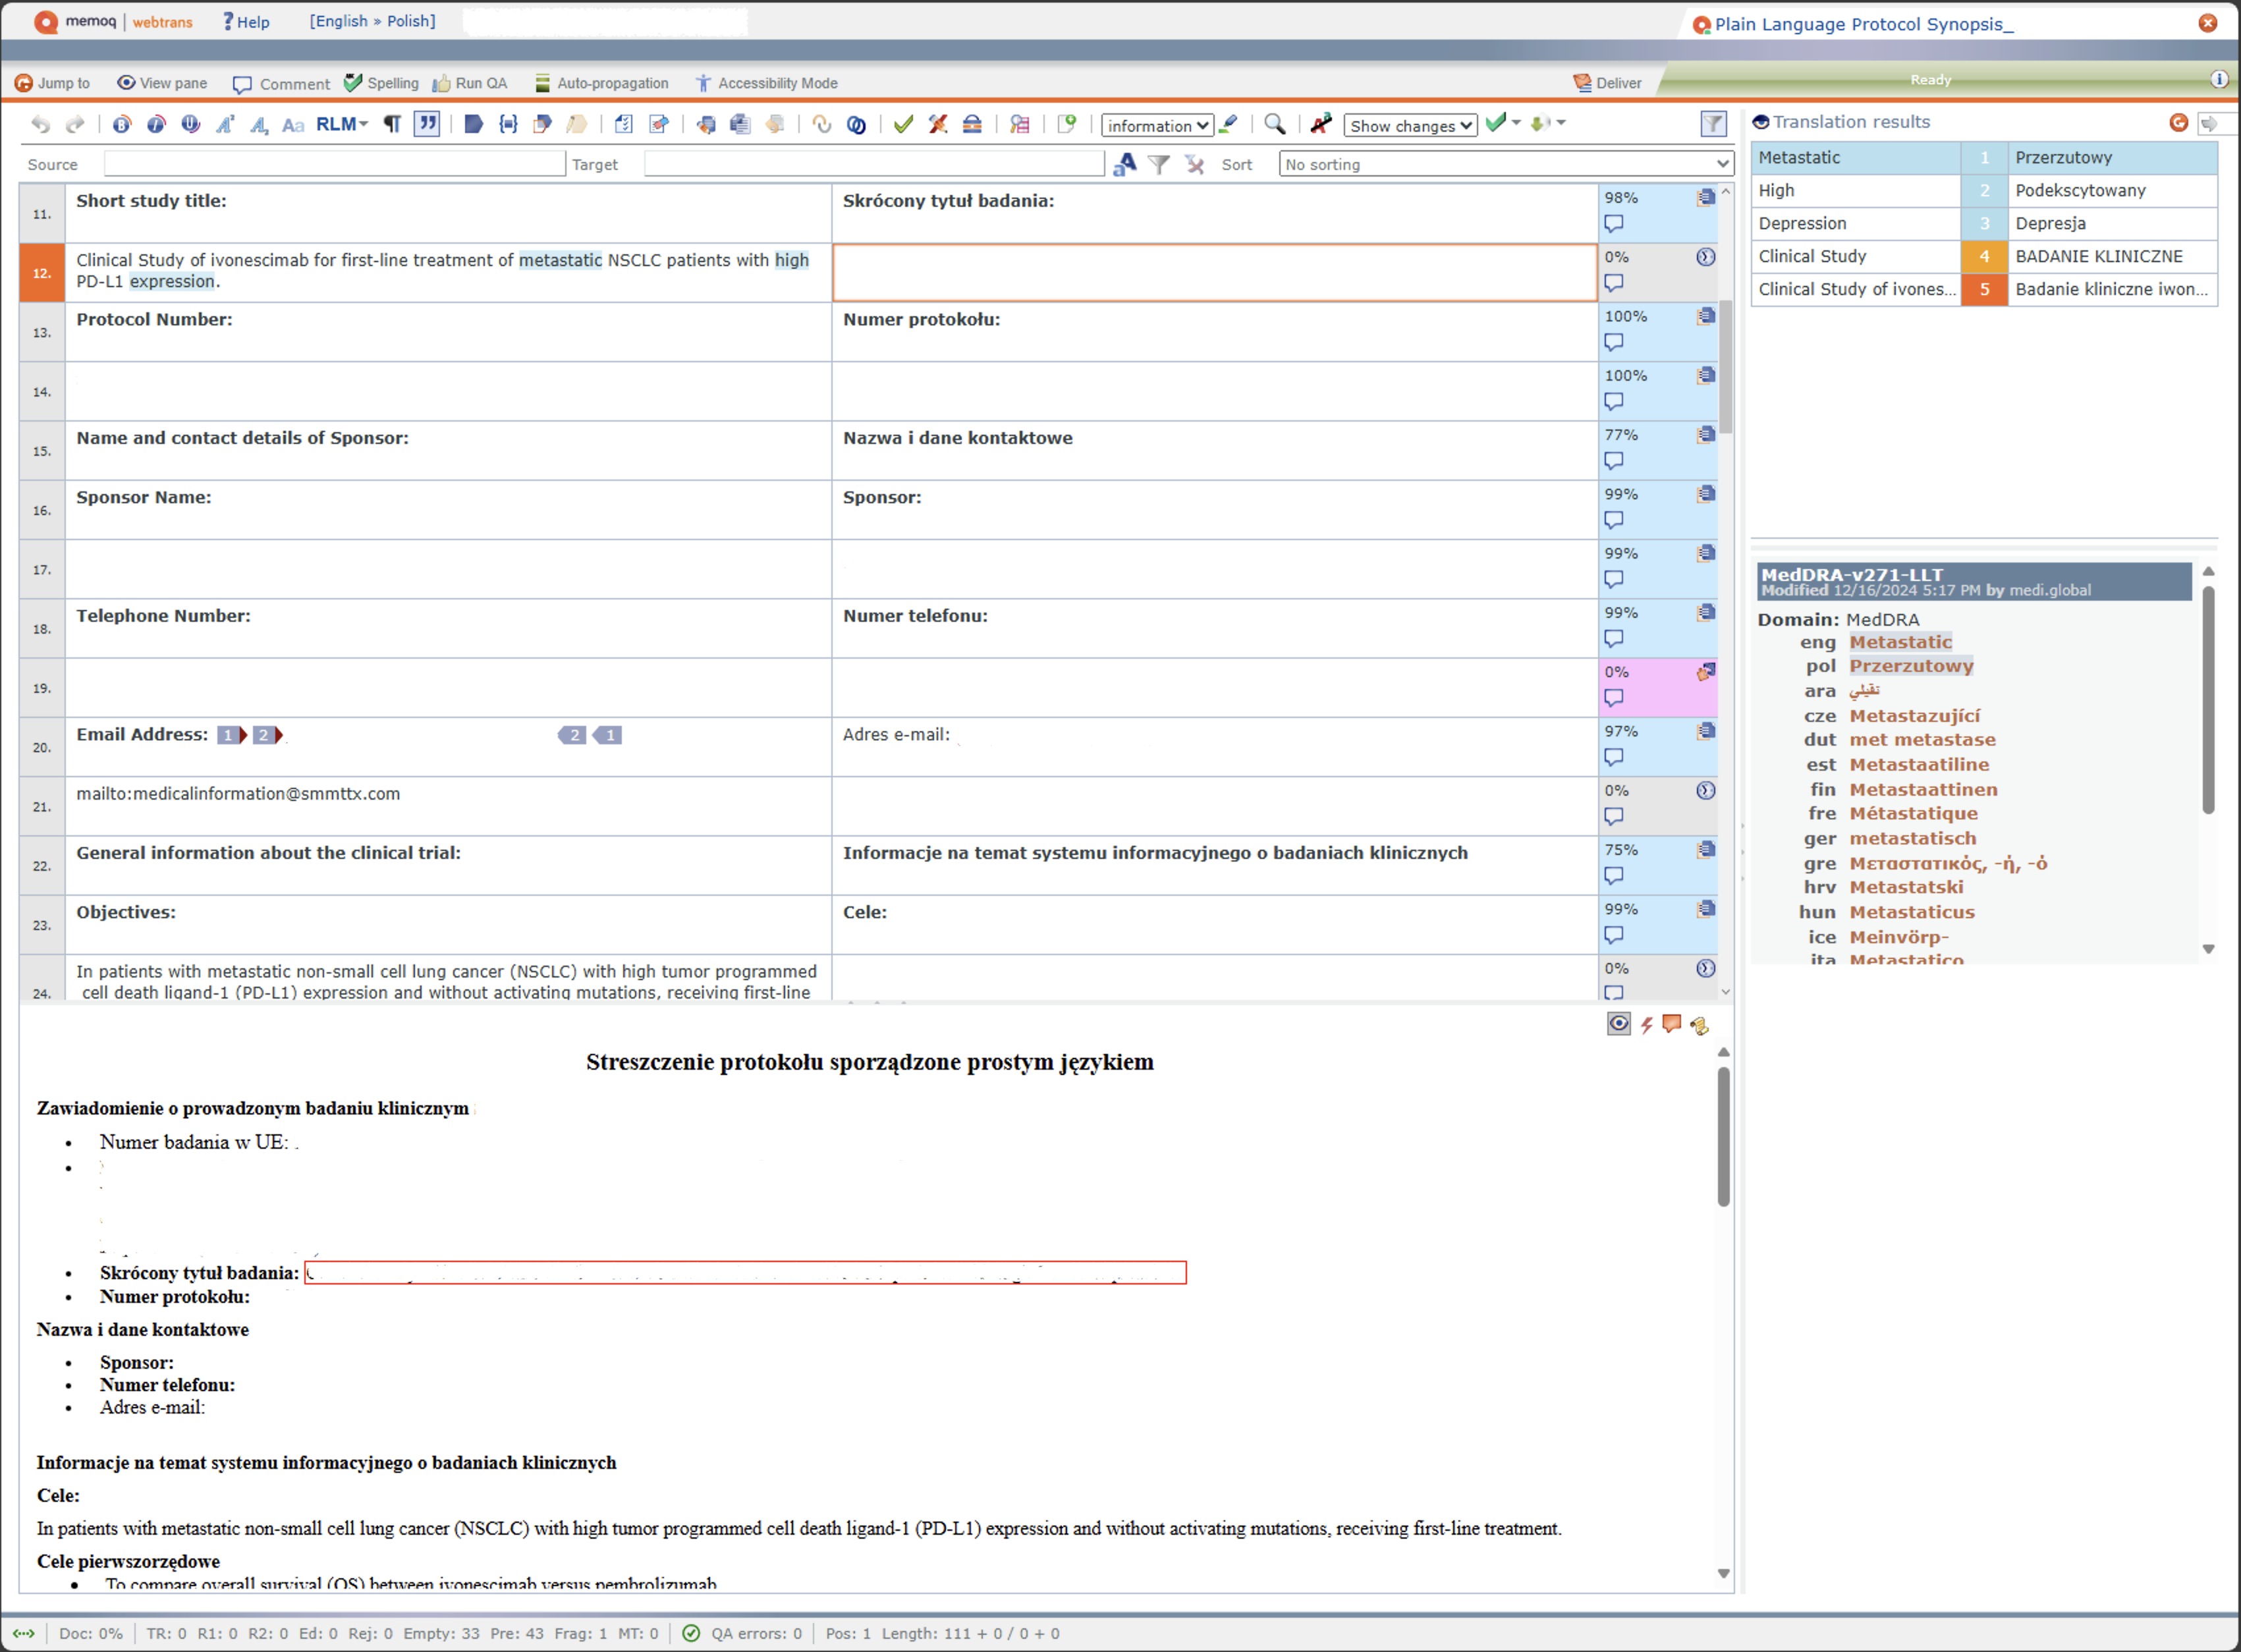
On the right-hand side of the window, you’ll find information from the Translation Memory (TM) and Term Base (TB), depending on the matches. By default:
- TM results are shown in red.
- TB results are shown in blue.
- MT results are shown in orange.
What are TM, TB and MT?
- Translation Memory (TM): This is a database of context-matched translations derived from previous work for this client. It links similar phrases and predicts translations based on past projects.
- Term Base (TB): A glossary of client-specific terminology that should always be followed. Some clients prefer specific phrasing in their documents.
- Machine Translation (MT): This is a match from a machine translation engine available for the project.
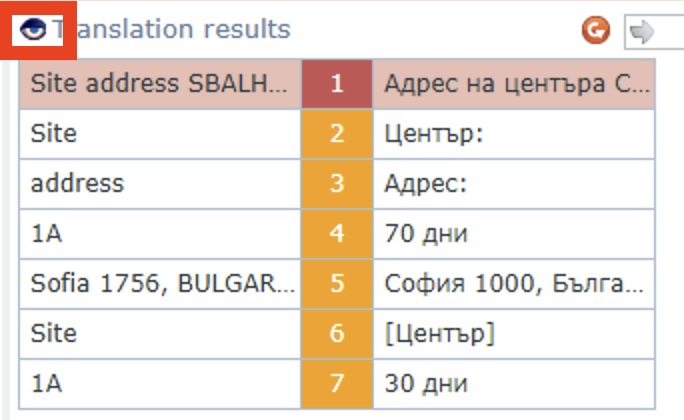
Customizing the Translation results
You can customize the items displayed in the Translation results pane. To do this, click the small eye icon (red box) next to the Translation Results text”
A pop-up window will appear. We recommend the following settings for each tab:
Filter settings Tab
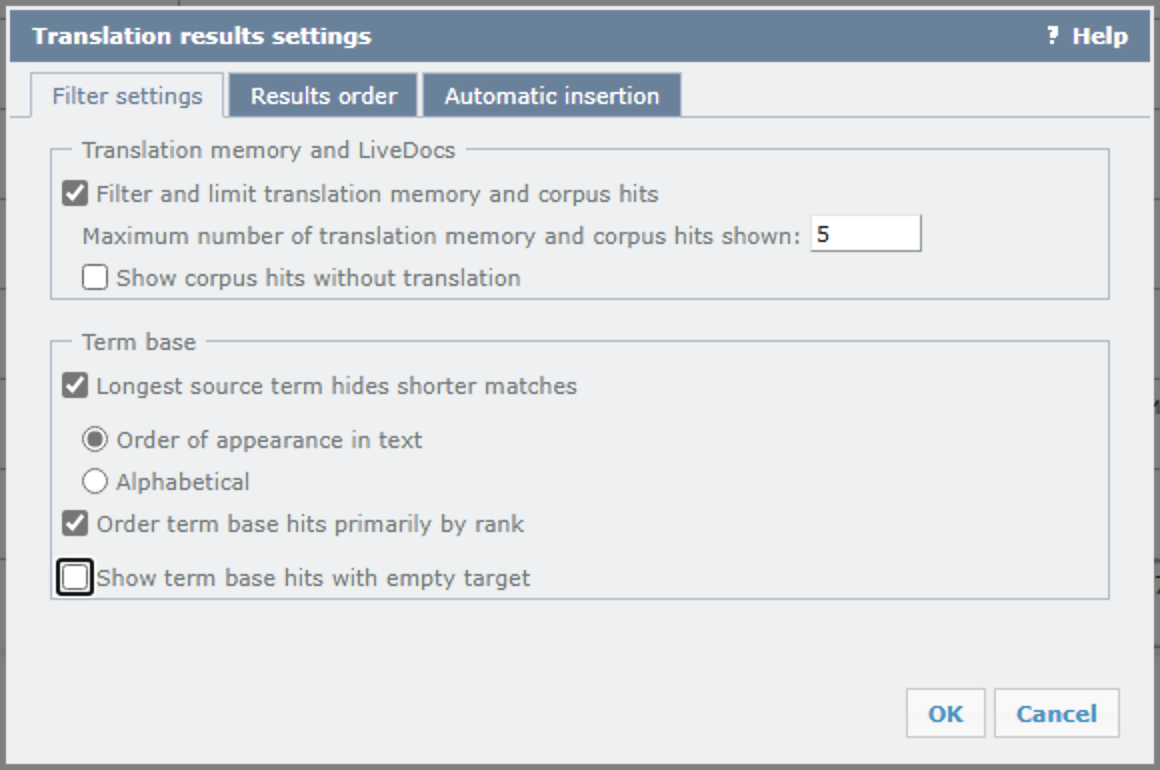
- Uncheck the “Show corpus hits without translation” box.
- Check the “Order term base hits primarily by rank” box. This ensures that ranked termbases are displayed from the highest to the lowest rank.
- Uncheck the “Show term base hits with empty target” box to reduce unnecessary TB matches.
Results order Tab
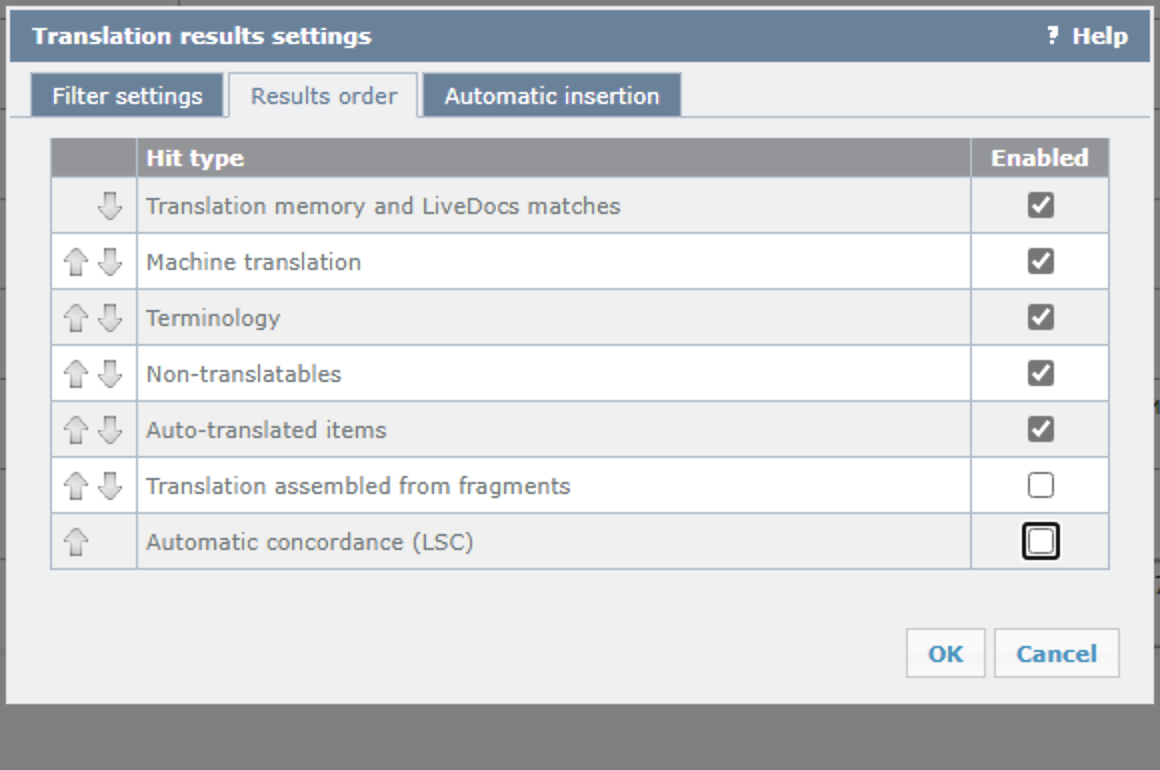
- Move “Machine translation” to the second position using the arrows on the left.
- Uncheck the boxes for:
- “Translation assembled from fragments”
- “Automatic concordance (LSC)”
- These results are often less helpful and can distract from more relevant matches.
Automatic insertion Tab
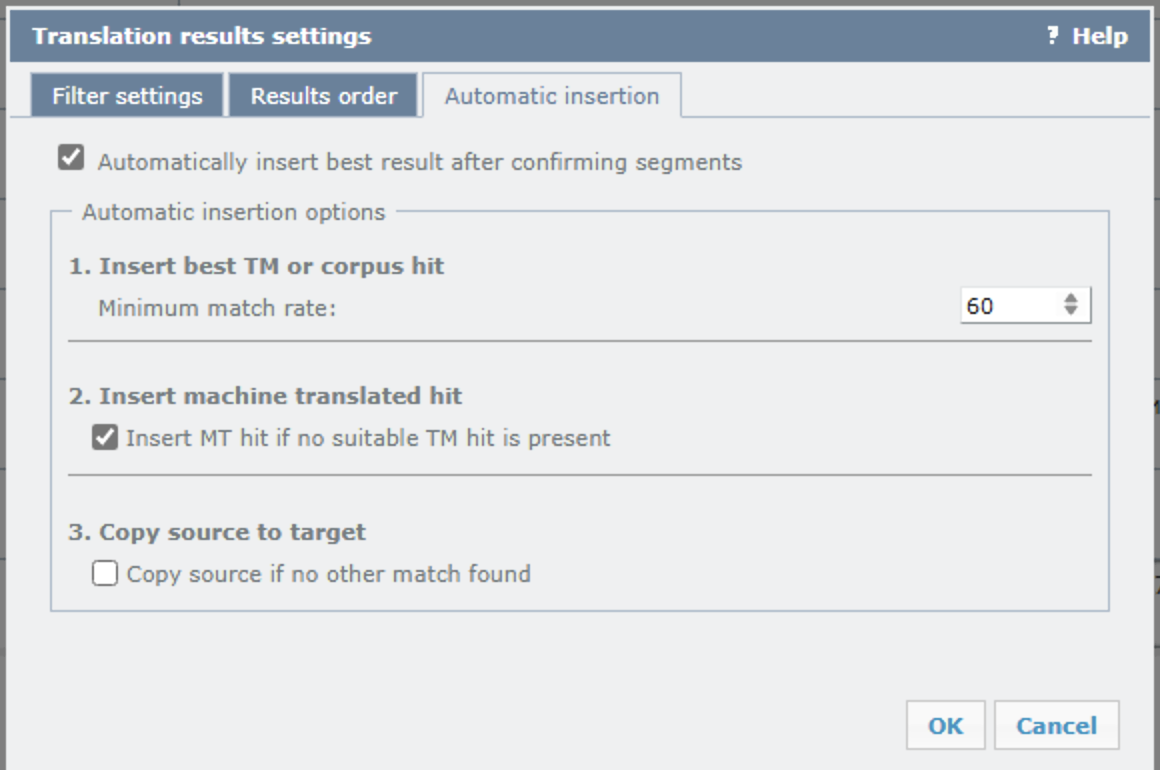
Adjust the settings for automatic insertion of TM or MT matches according to your preferences.
Remember to click OK to save the settings!
Previewing the document
To view how the translation fits within the final document layout, enable the View pane (blue box) at the top of the page. This opens a preview in the bottom-left corner, showing how the target text will appear. Use this to understand the context (e.g., headers, standalone text, continuous flow) and adjust your translations accordingly.

Working on the Translation
To edit or insert a translation, click in the text box in the second column and type. When satisfied, confirm your changes to the TM by clicking the green check mark at the top (blue box) or pressing Ctrl + Enter. You can confirm segments individually or in bulk by selecting multiple columns and confirming them all at once.

Confirmed segments are indicated by a green cell in the third column, which also displays the segment’s fuzzy match percentage.

Formatting
To apply formatting like bold, italics, or underlining:
- Use the formatting buttons in the top ribbon (blue box).
- Alternatively, use these shortcuts:
- Bold: Ctrl + B
- Italics: Ctrl + I
- Underline: Ctrl + U

Tags
Tags ensure proper formatting when exporting files from memoQ. They appear as small blue tags within translation segments. Tags do not require translation but must be placed in the appropriate position within the target text.

- To insert tags, click the Copy text tag sequence button (blue box; shortcut: F9).
- Purple tags represent formatting tags. Insert these by clicking the Insert all format tags button (purple box) in the top ribbon.

Comments
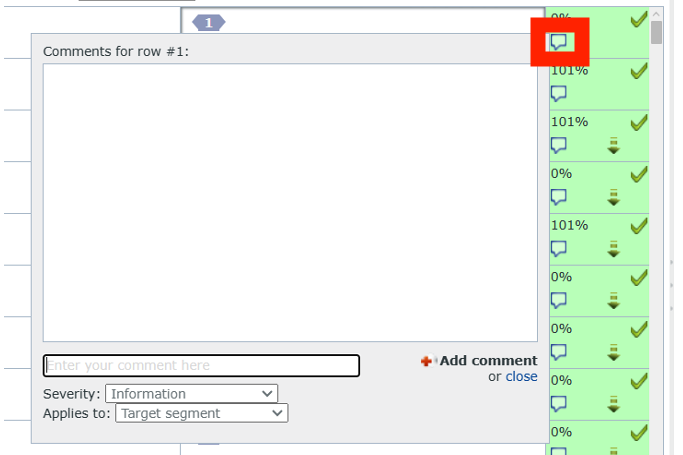
To add comments:
- For comments on specific segments, use the Comment button (red box) next to the segment.
- For general comments about the document, click the Comment button (blue box) in the top ribbon.
- Enter your comment in a window shown and select the severity level (e.g., error, information). Click Add comment to save.
- Do not type any comments directly in the translated segment!

Spell Checker
We recommend enabling as-you-type spell check in the online editor. To do so, click the Spelling option (blue box):

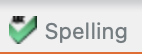 | Spell check enabled |
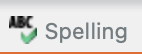 | Spell check disabled |
Quality Assurance (QA)
To perform QA, use the Run QA option (blue box):

A window with the results will be displayed:
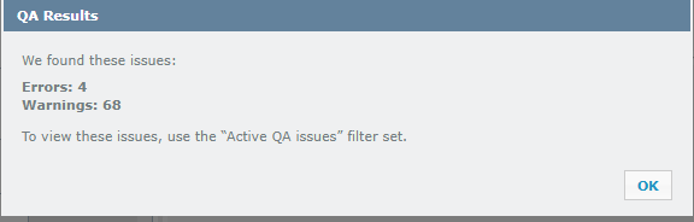
Note that unlike Phrase/Memsource, the online editor does not display an aggregate list of segments with QA errors.
You can set a filter for segments that contain errors. Such segments are marked with either an orange lightning bolt icon or a red exclamation mark icon (indicated by a large red arrow in the screenshot below):
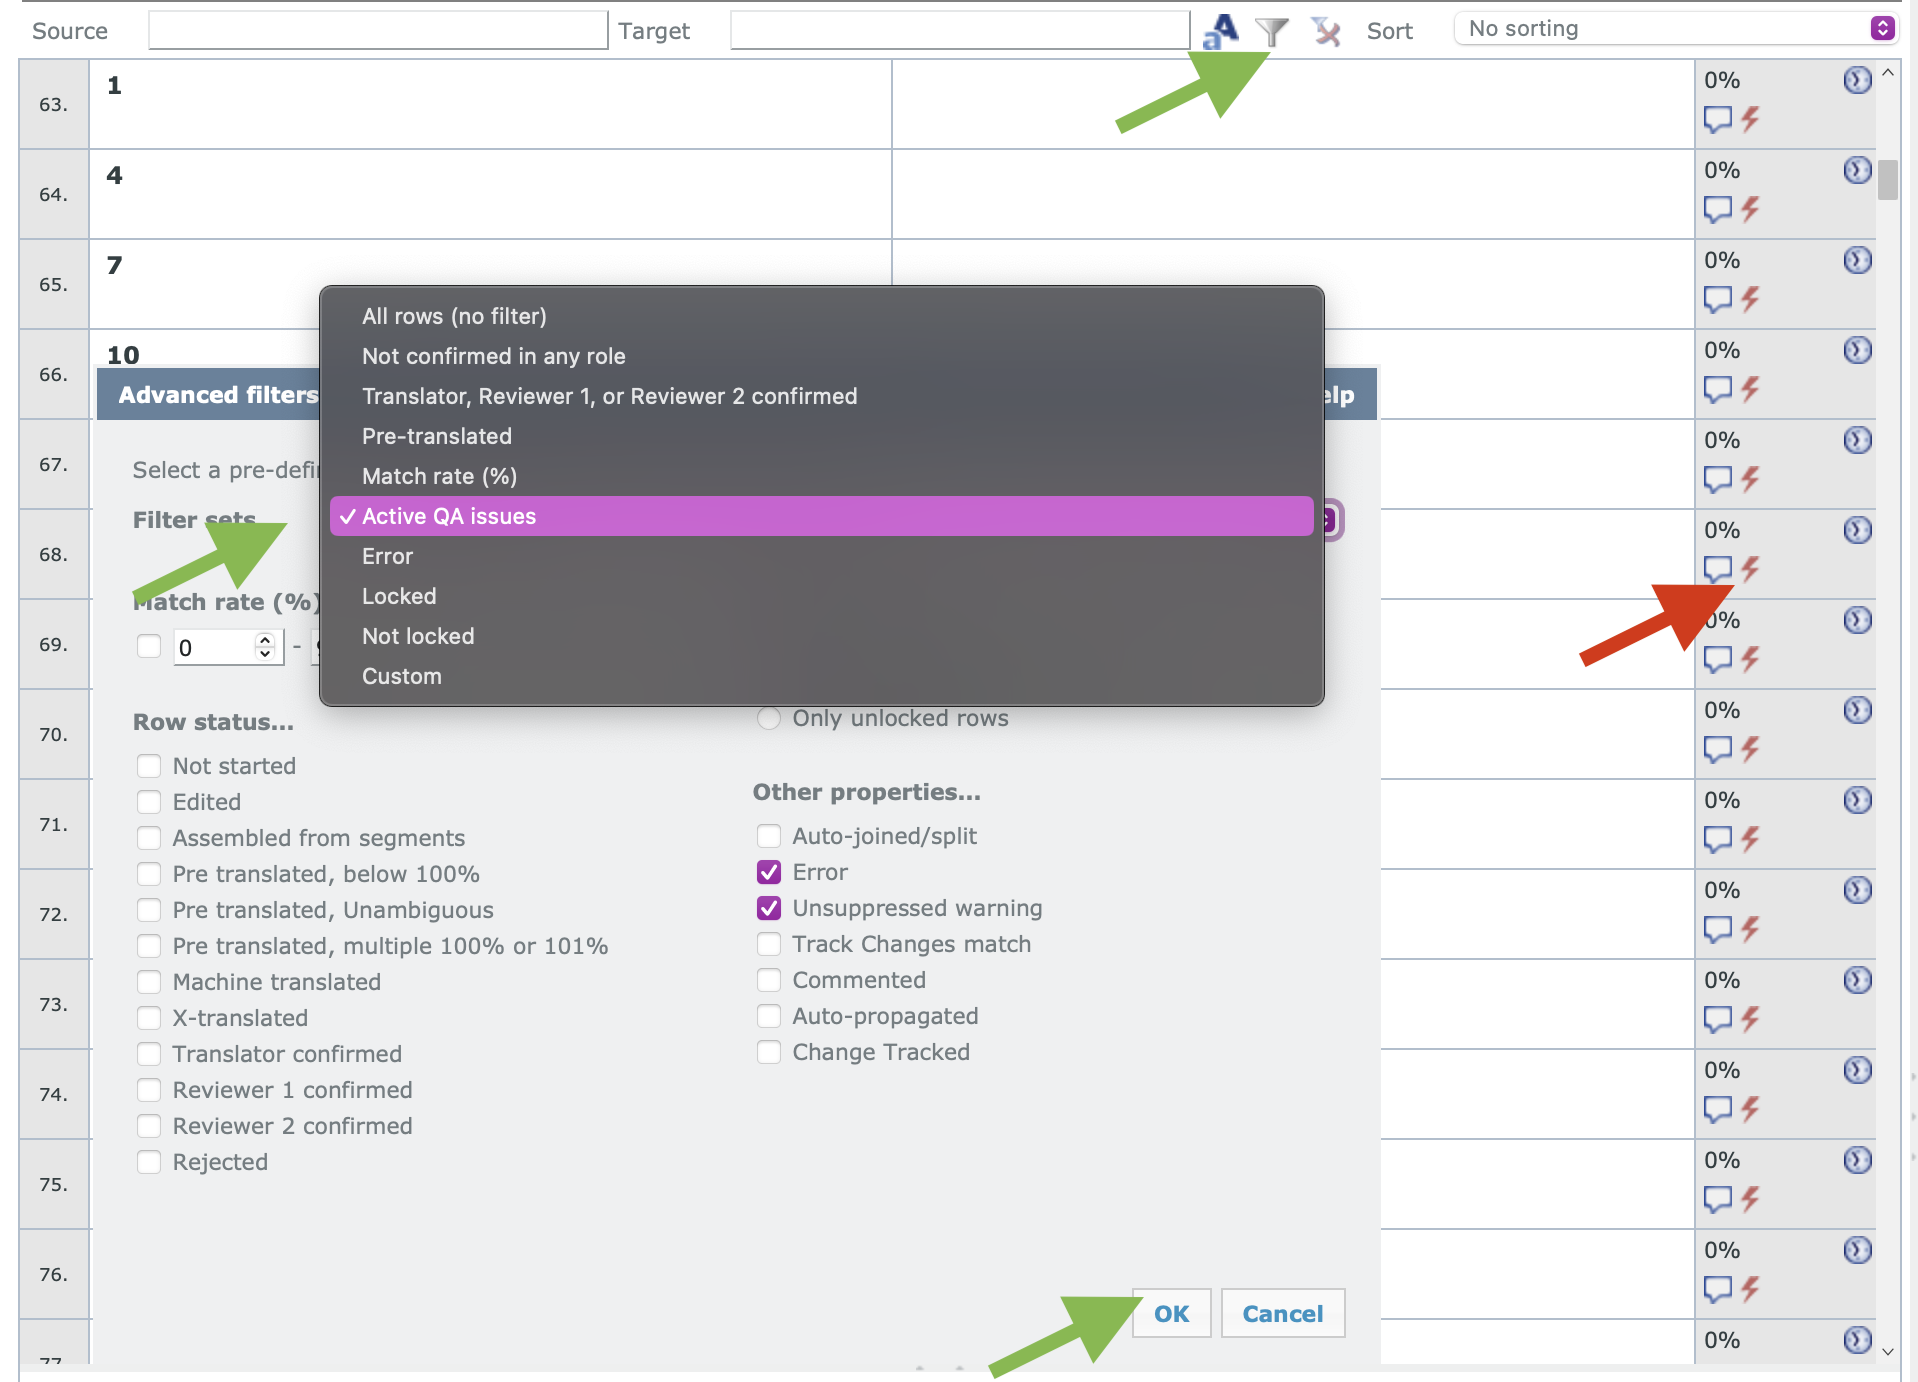
To filter out segments with errors:
- select the funnel (filter) icon from the top bar;
- in the Advanced filters window displayed, under Filter sets, select Active QA issues;
- navigate to the individual segments for which there are issues.
Warnings
Warnings are marked with an orange lightning bolt icon. If the warning is a false-positive, it can be ignored. Otherwise, fix the problem before delivery.
Double-click the warning icon to display all issues for an individual segment:
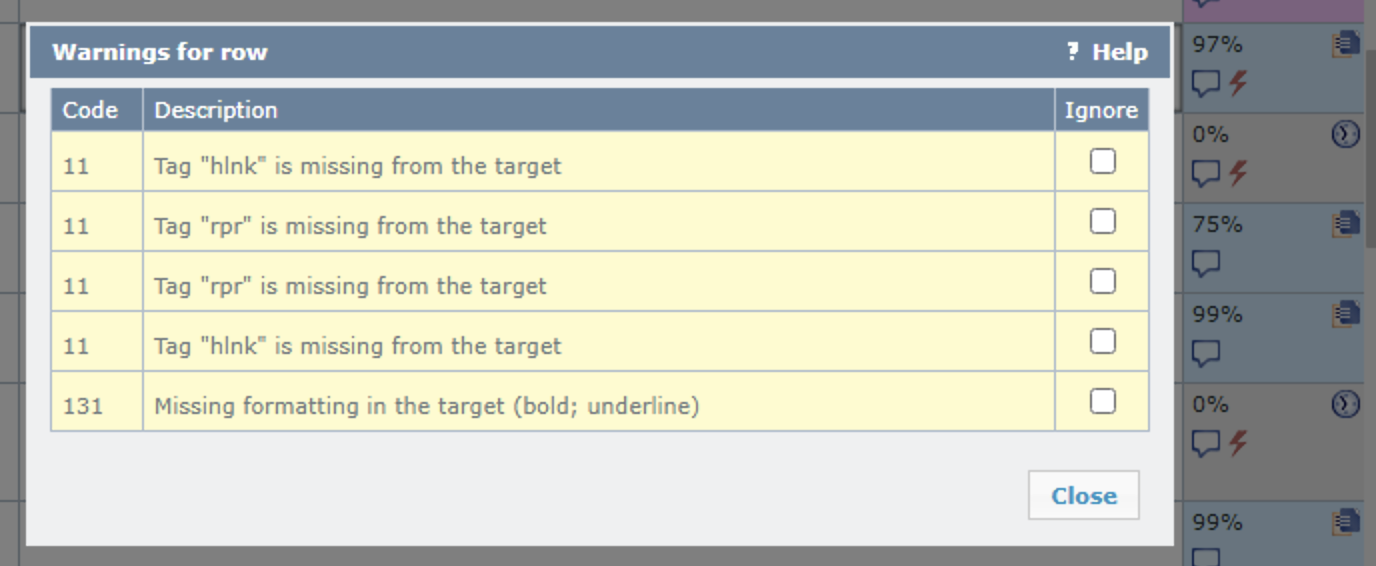
To ignore a warning, simply check the box in the Ignore column.
OR use View pane to switch to QA warnings view:

To ignore/hide an issue, simply click the eye icon (marked with an arrow).
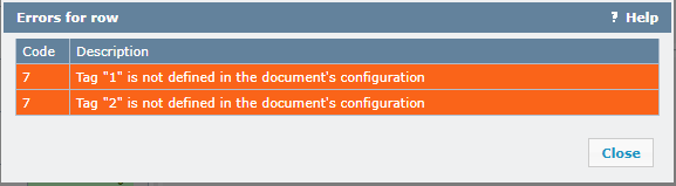
Errors
Errors are marked with a red exlamation mark icon. Errors cannot be ignored. Fix all errors shown before proceeding.
Please note that an unfinished QA will prevent the file from being delivered!
File Delivery
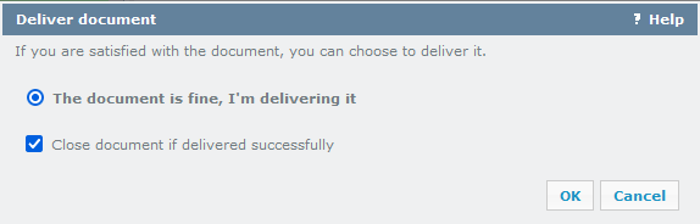
After completing and confirming all segments, running QA, and finalizing the document, click the Deliver button in the top ribbon (blue box, on the right side above the TM and TB results).

If you worked on a translation assignment, you will see the following window. Click OK to deliver:
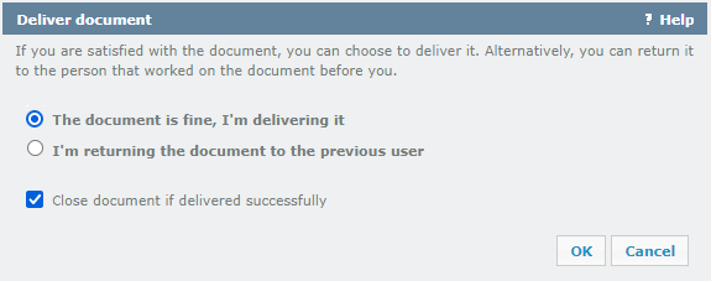
If you worked on a revision assignment, you will see the following window. Also click OK to deliver. Do not select Return the document to the previous user, unless you were specifically instructed to do so. Instead, consult the Project Manager if there are major issues.
Files do not need to be uploaded to Protemos unless instructed by the Project Manager. Files are saved automatically in memoQ for the Project Manager to access.
For tasks involving tracked changes, image, chart, or graph translation outside memoQ, ensure these are delivered via Protemos.
Finally, mark the task as complete in Protemos to notify the Project Manager.